
I know I'm more of a book person, but I may as well try it out - there's a first time for everything!
Okay, so here goes...
Today I will be showing you how to turn each one of your fingernails into dice! Well, a replica anyhow, real dice would probably consist of plastic surgery on your nails... MOVING ON!

STEP ONE
This step is IMMENSELY EASY. All you have to do is paint your nails white.

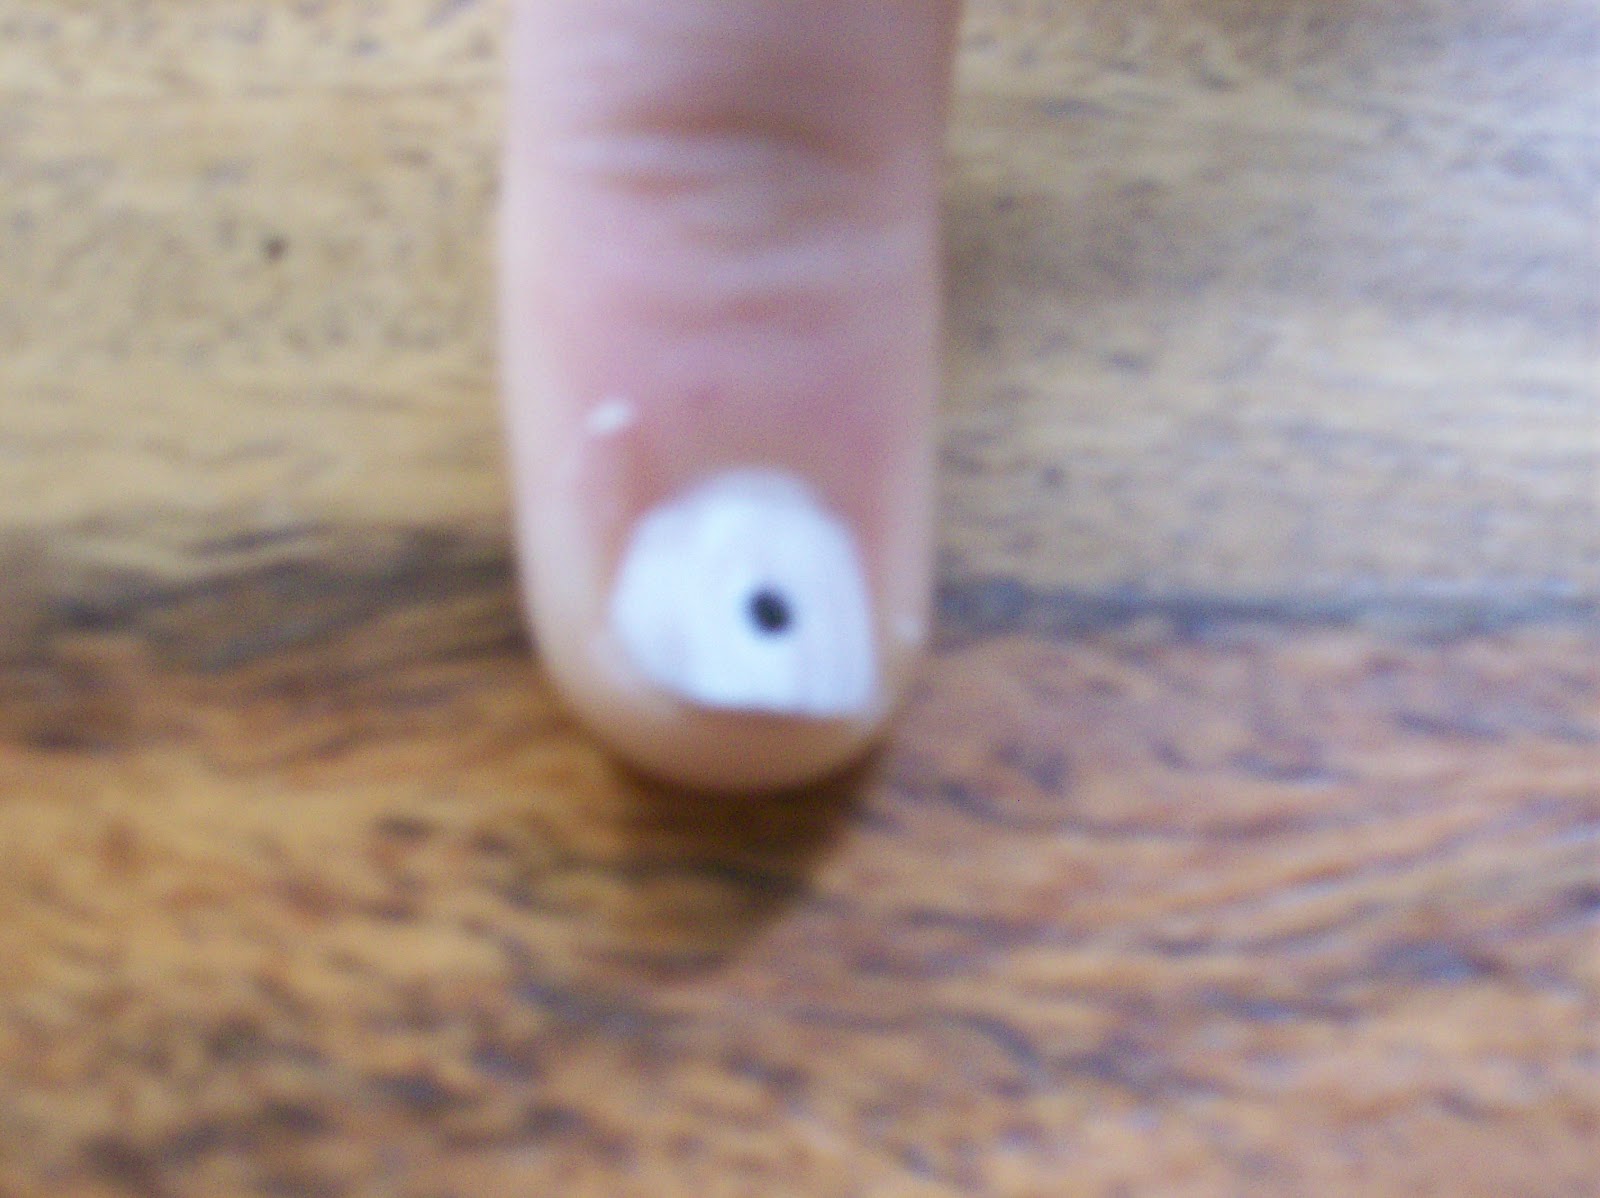
Bad picture, sorry. Oh, and ignore my incredibly short nails, I found some nailclippers and wanted to try them out... *Sigh*
TIPTo help prevent your nails from getting pulled back by the nailvarnish and endure growing difficulties, it would be best if you pulled back your cuticle (fleshy thing at the top of your nail) into the nail bed. This shouldn't hurt, but it will make sure that the varnish lets your nails carry on growing without the nails having to break away from the skin. THAT would be very painful indeed.
STEP TWO
Now you will need either a tooth pick or ear bud to paint on the dots. If you have specialist nail paint with a 'painter,' then you can just use that. I however, decided to go with the ear bud. I cut off the top fluffy bit, so I was left with a spike, and I used that.

TIP
Don't dip the whole bud or pick into the nailvarnish, just use the residue paint from the side the dip them in, otherwise you're not only wasting paint, but you'd get big splodges on your nails, and it won't look very nice.
STEP THREE
Once you've got the paint on the tip of your utensil, simply draw a dot on one nail.
Ignore the fact that there's a drop of paint above my nail...
TIP
Don't press too hard when painting, otherwise you'll dent the undercoat of paint. Then the whole thing will slope, and it'll all look a right mess.
STEP FOUR
Of course you know what a dice face looks like, don;'t you? Well, you just paint each nail with either one dot, two dots, three, four, five, six dots, like so...

Yes, so I have very knobbly fingers. You didn't have to point it out...
TIP
Try to space the dots out a bit. If they're too close together then they'll merge together into one big black dot. Unless this is the look you were going for, I wouldn't recommend doing so.
STEP FIVE
Now this is the SIMPLEST, yet MOST IMPORTANT step there is. Without it, the art of Nail Dotting will slowly die out and END. Now, you don't want that, do you? Well all you have to do is share my blog with all your wonderful friends(: Come on, I'll love you for it! *Smiles and nods at the same time, child in background starts crying*
So, how did it go? What went right? How many millions of things went wrong? I need your support, people!
AAWAD(:


Thanks for the comment yes I know I messed up LOL but I just explained everything in a post so GOGOGOG and check it out then enter! :D x
ReplyDeletePhew, haha! I'll enter now...(:
DeleteI love the new idea of beauty posts! Suits your style completly! I would try it but I have incredibly short nails! I love the domino nails though I would suggest doing something on like the colour around your eyes(like different eye shadow looks and that) I would try that out!
ReplyDeleteSophie:D
P.s. thanks for entering my BOOK AWARDS!
I've got a video I made of how to get rid of mascara without it damaging your lashes, but it's really messed up! so I'll redo it with pictures!
DeleteAnd thanks for LETTING ME ENTER your blog awards!(:
Oh and thanks for adding my blog button!!
ReplyDeleteIt was only polite!!(:
Delete